DIY Fence Installation in Belleville, MI: A Step-by-Step Guide
Installing a fence can transform your outdoor space, providing privacy, security, and a sense of boundary. While the idea of building a fence yourself might seem daunting, with the right tools and guidance, it’s entirely possible. Whether you’re trying to keep pets safe, add curb appeal, or simply demarcate your yard, this DIY guide will walk you through the essential steps of fence installation.
For those in Belleville, MI, who want a professional touch,
Construction Fence LLC is always here to help. But if you’re ready to take on this DIY project, let’s dive into the steps to ensure a smooth, successful fence installation.
1. Planning and Preparation
Before breaking ground, it’s crucial to plan your fence thoroughly. This ensures you avoid common pitfalls and build a fence that stands the test of time.
- Check local regulations: Start by consulting your local zoning and building codes in Belleville, MI. These regulations will inform you of height restrictions, material limitations, and proximity to property lines.
- Mark your property line: Ensuring you install the fence on your property is vital. Hire a professional surveyor or check your deed for accurate property lines.
- Call before you dig: It's important to contact utility companies to mark any underground lines. In Belleville, MI, you can call 811 to schedule this service.
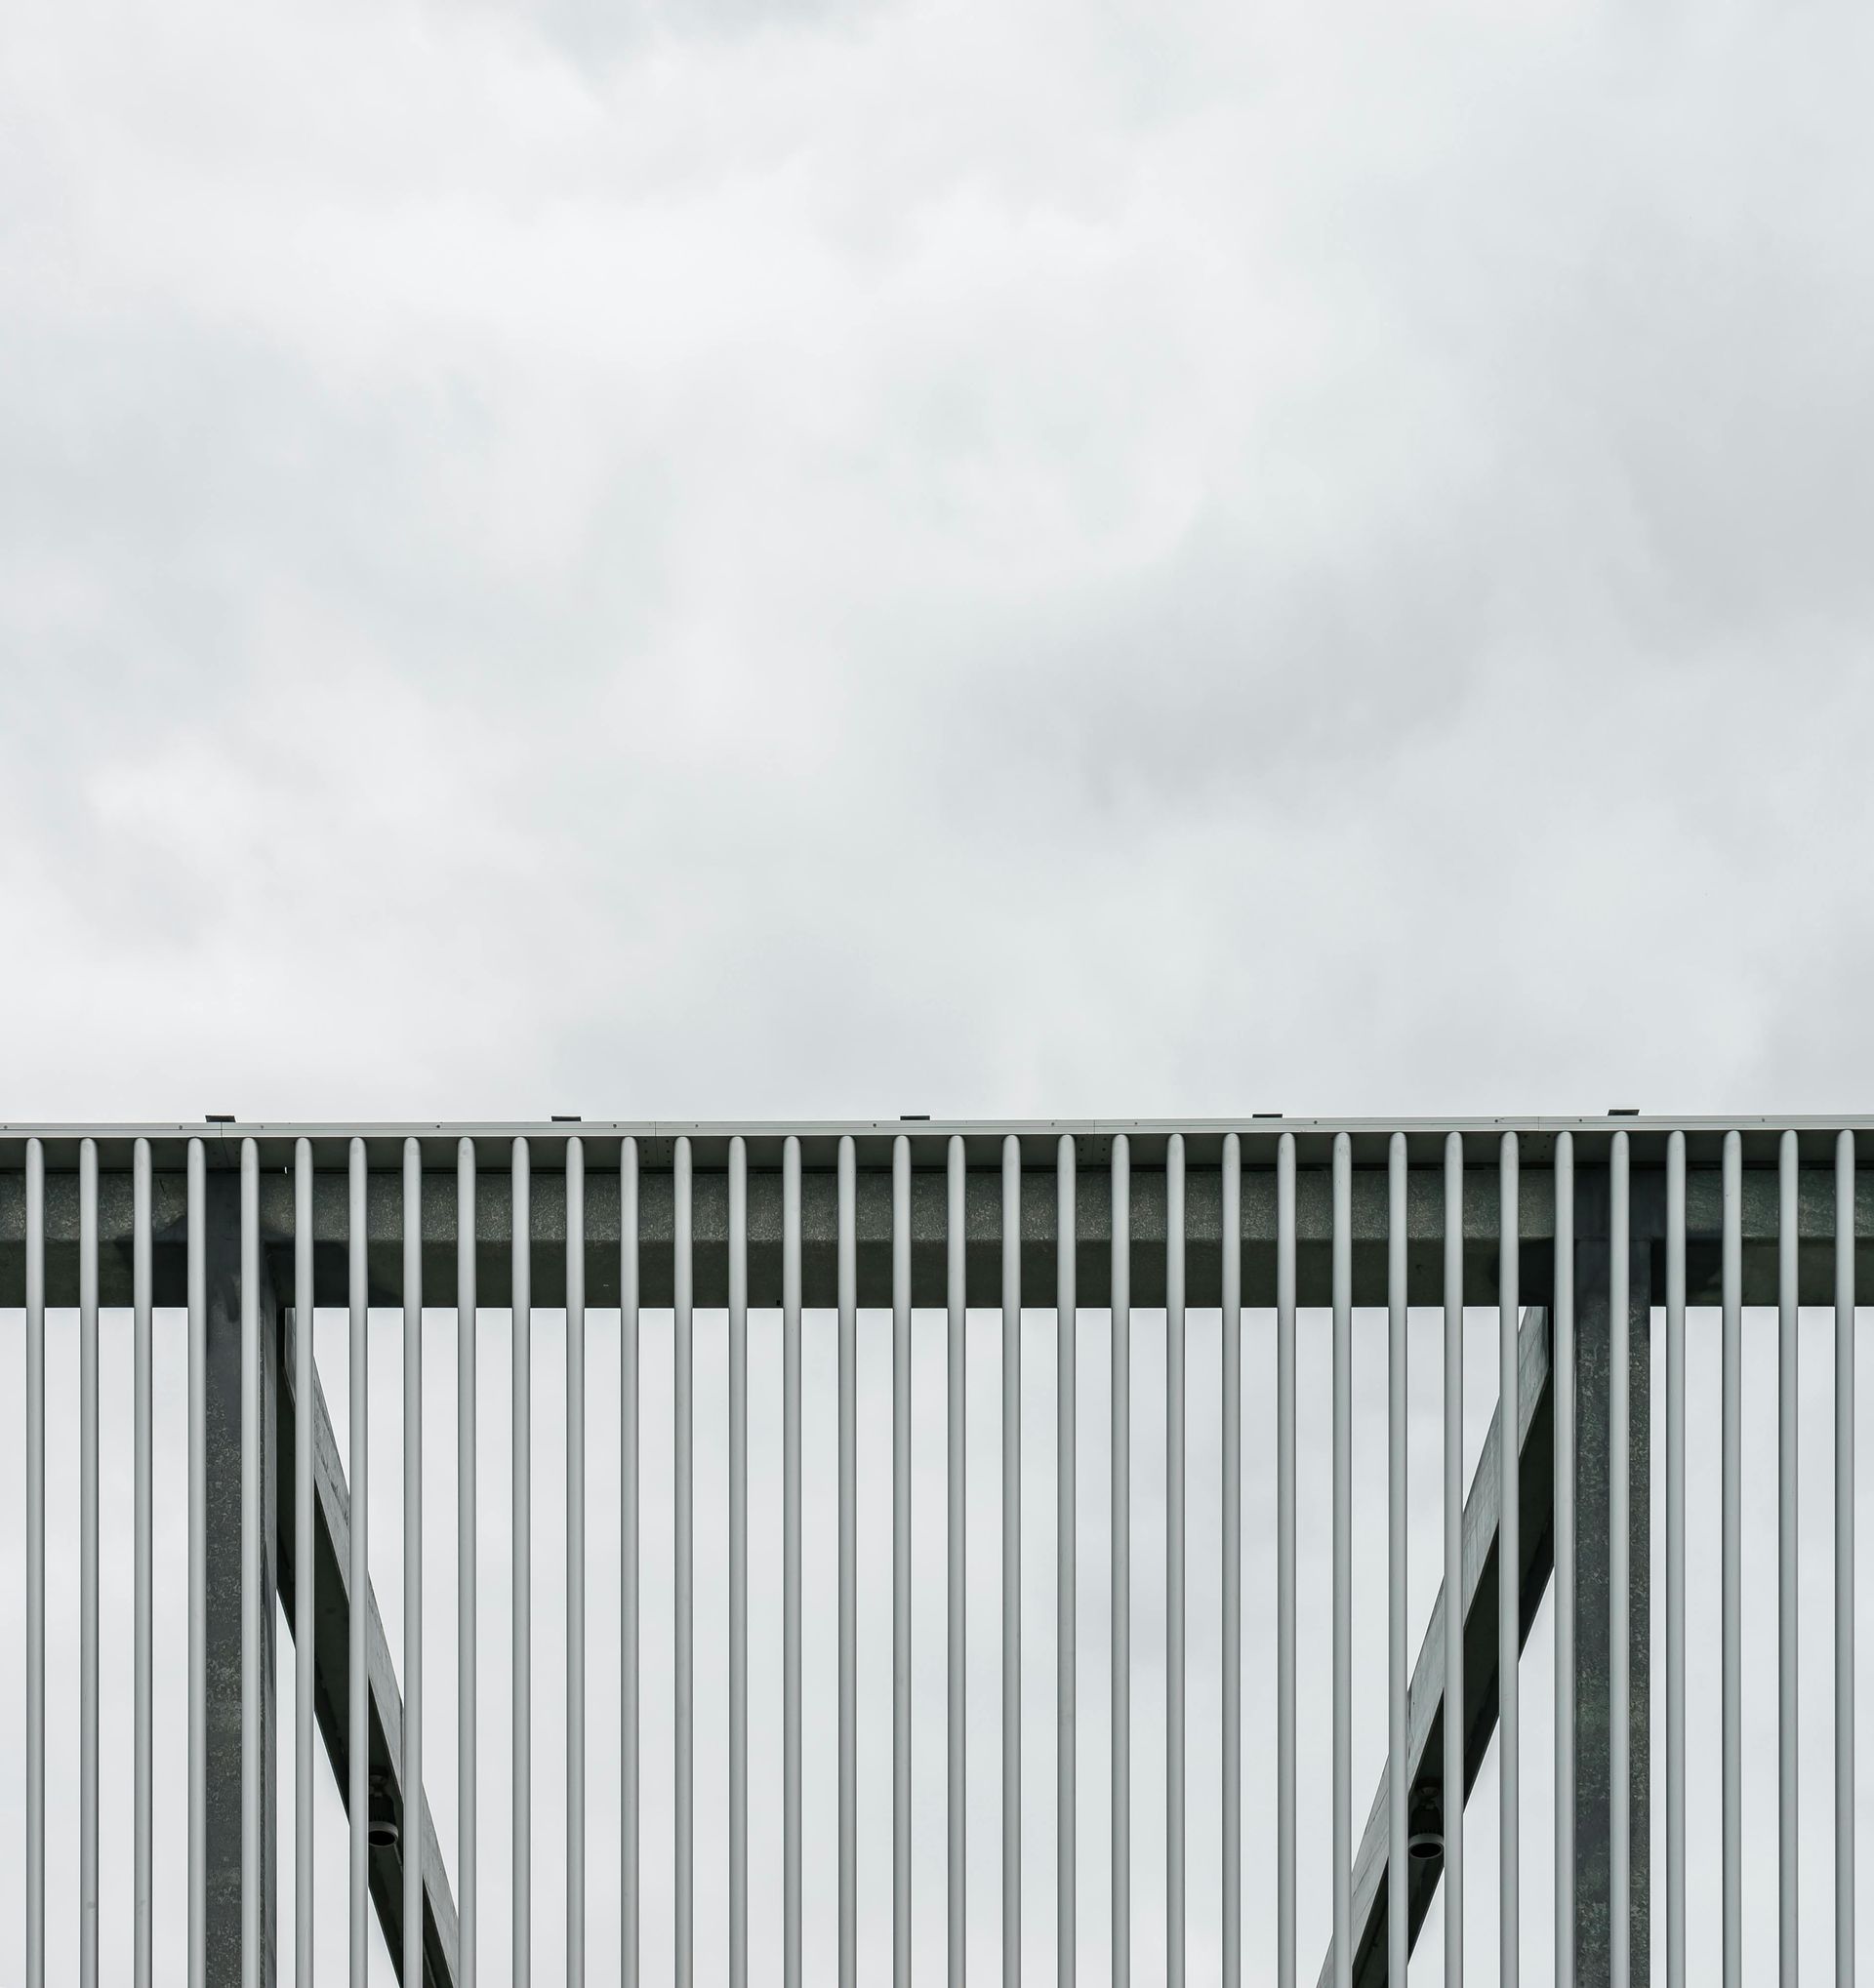
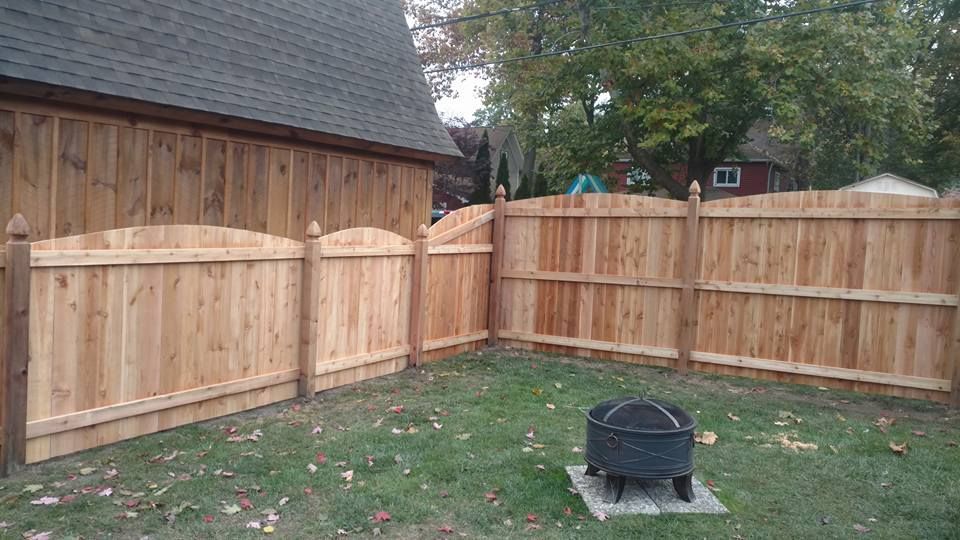
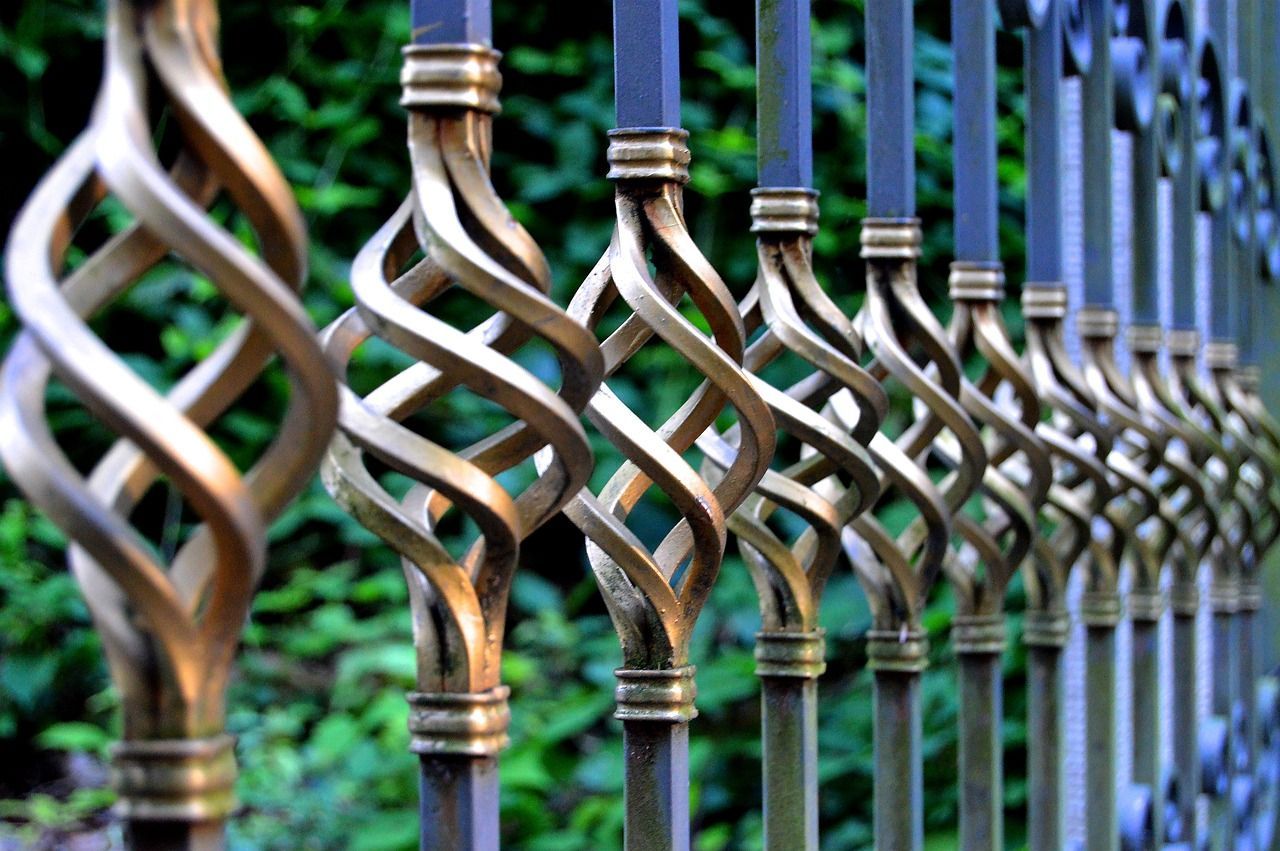
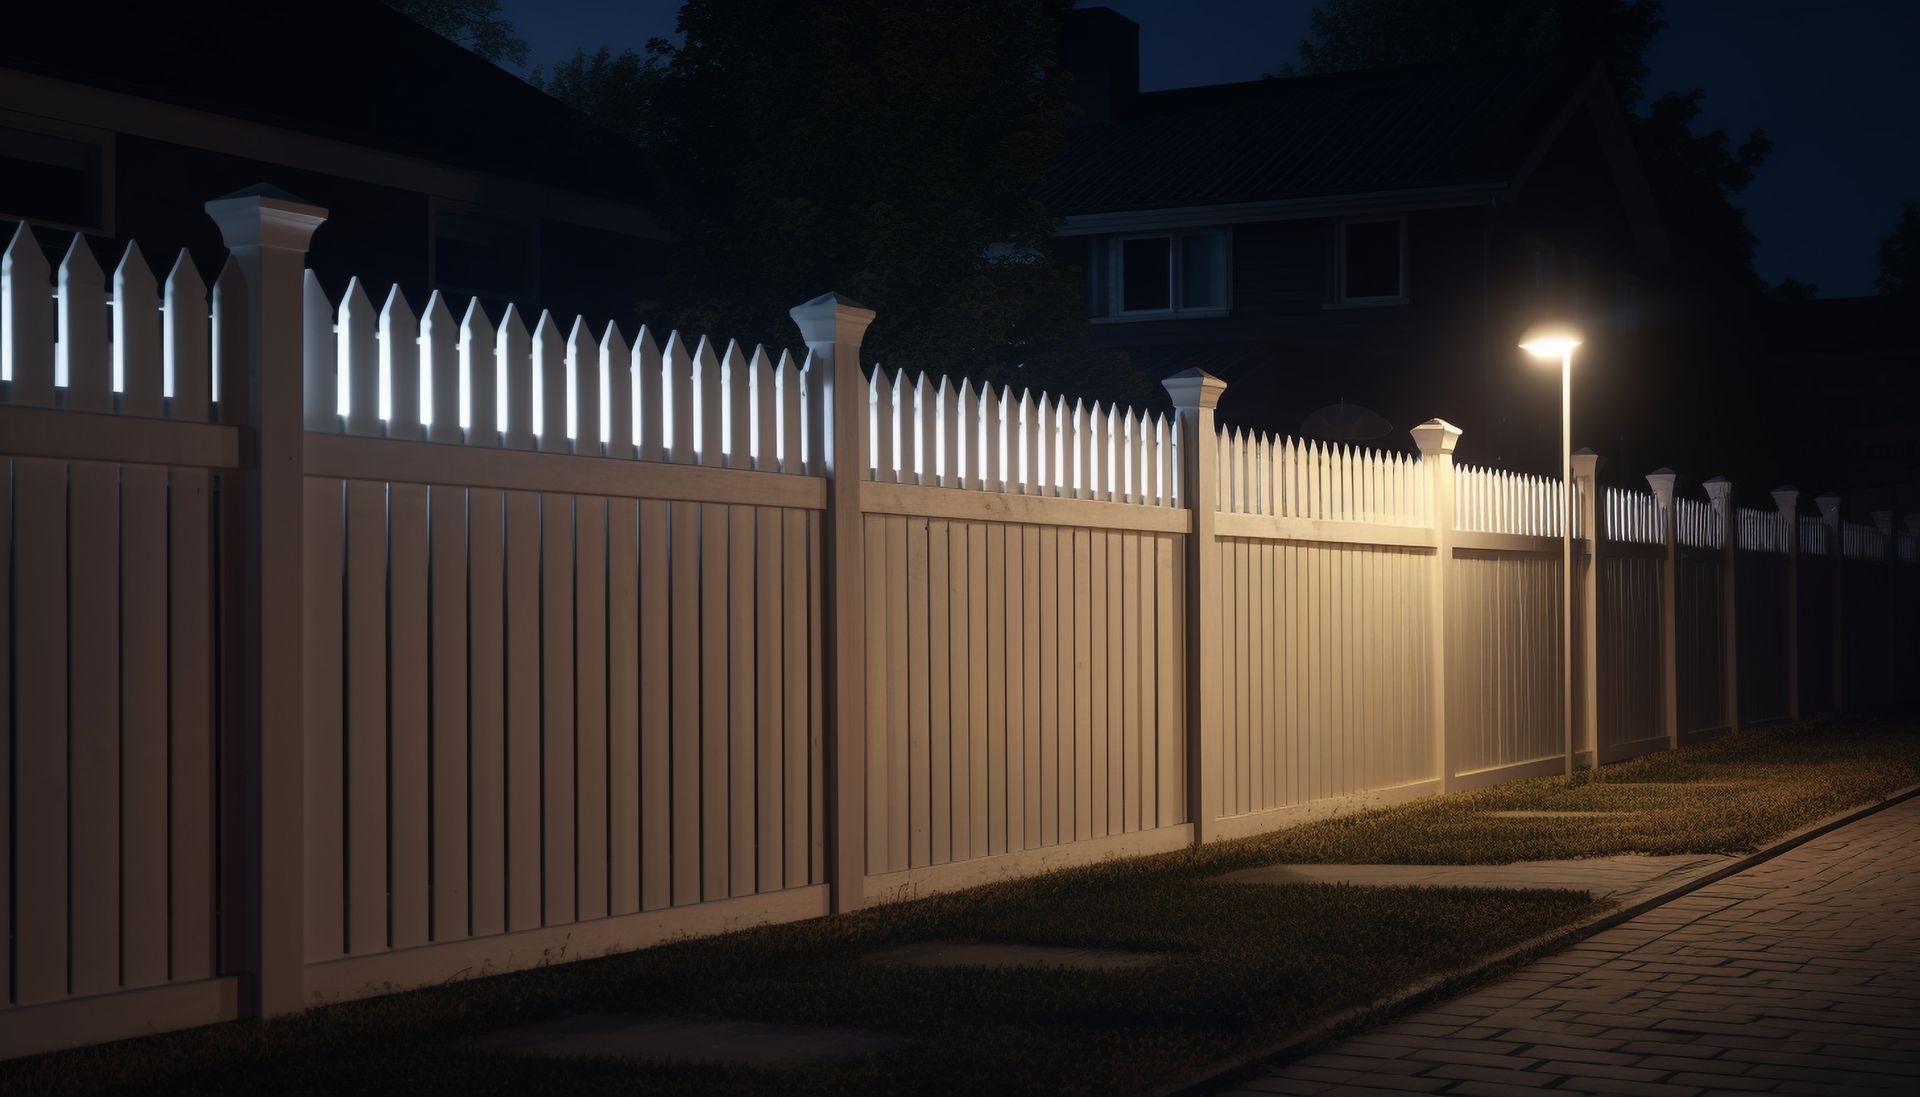
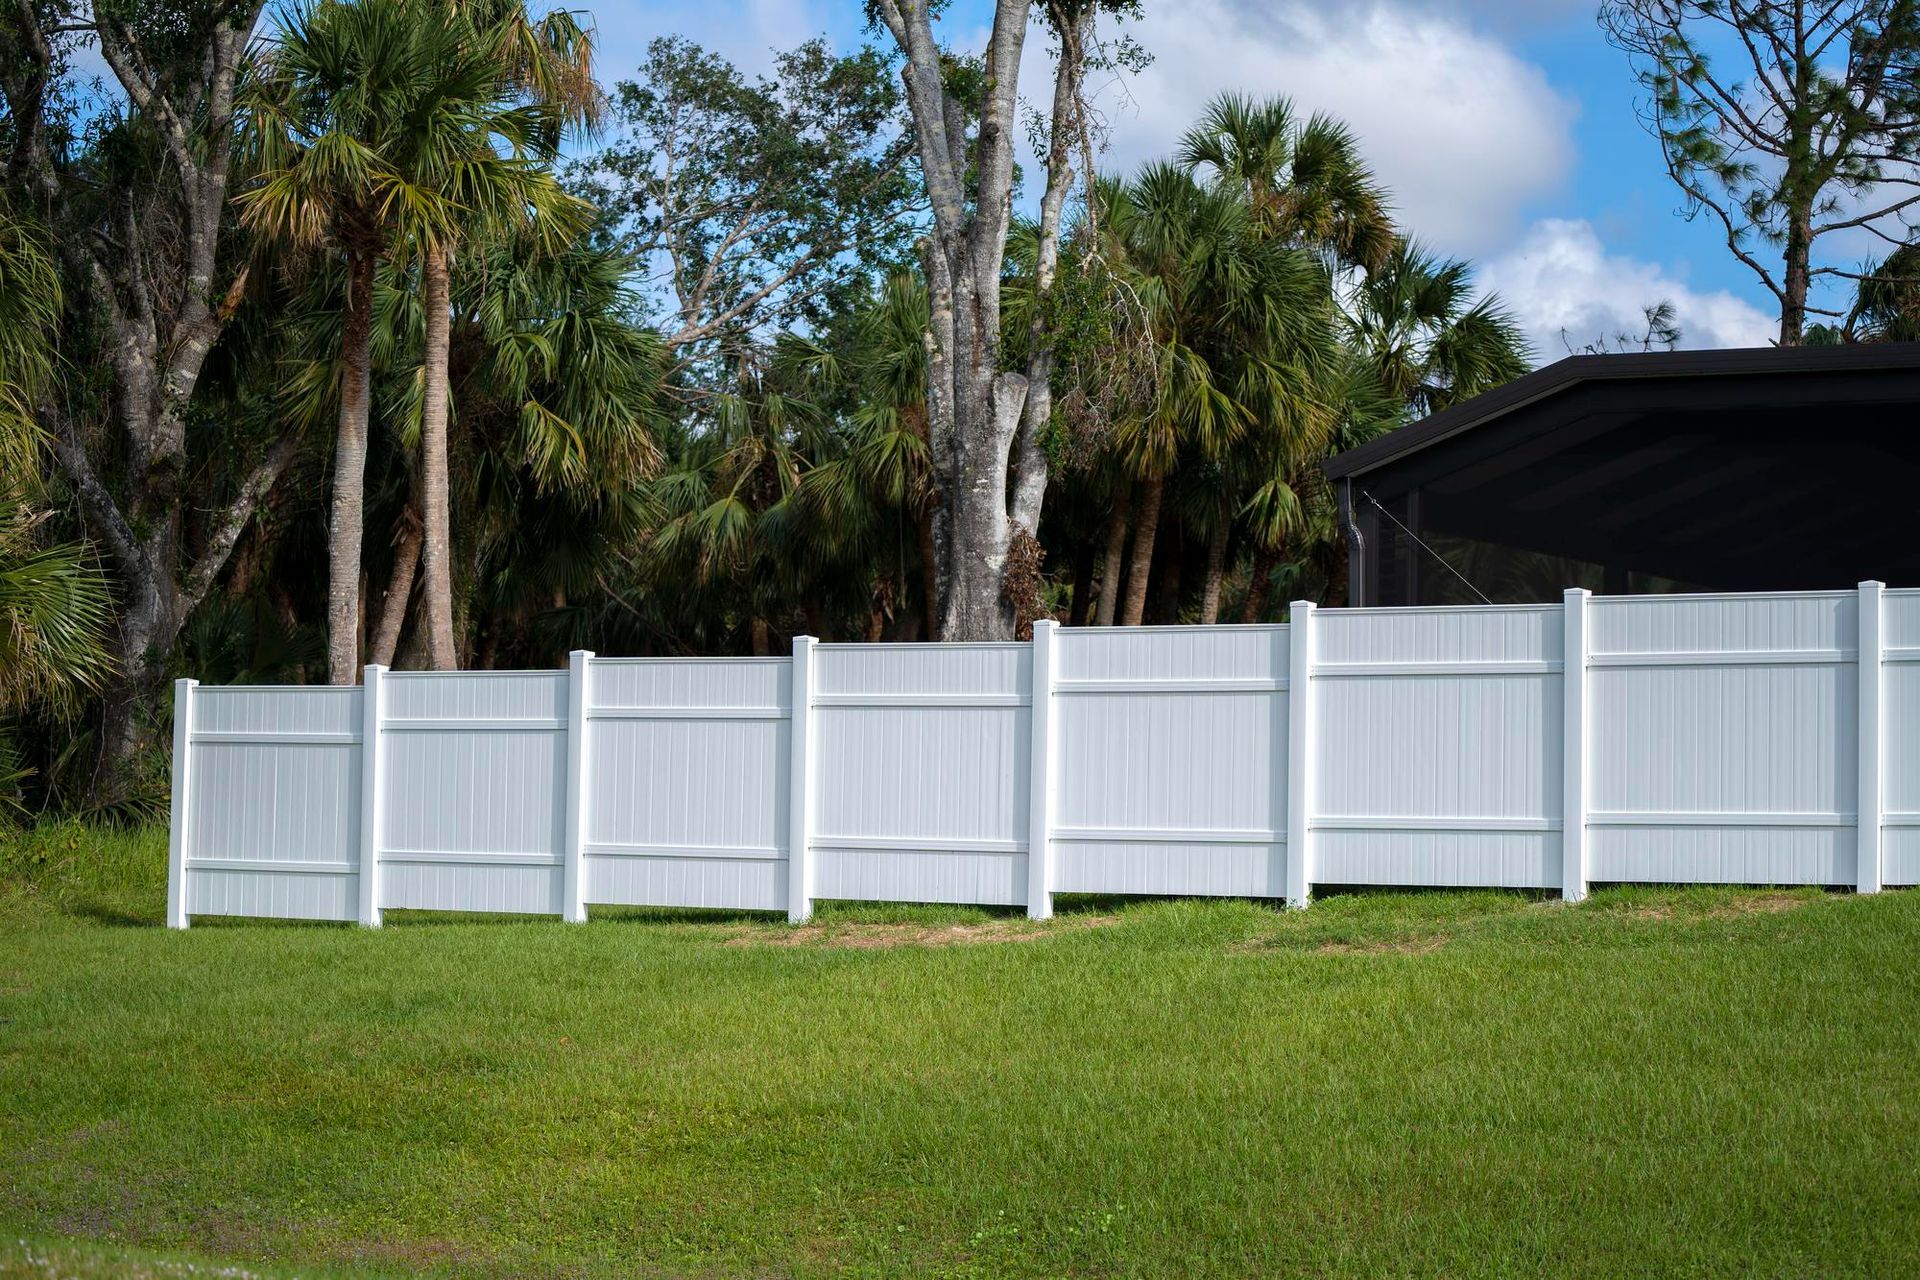
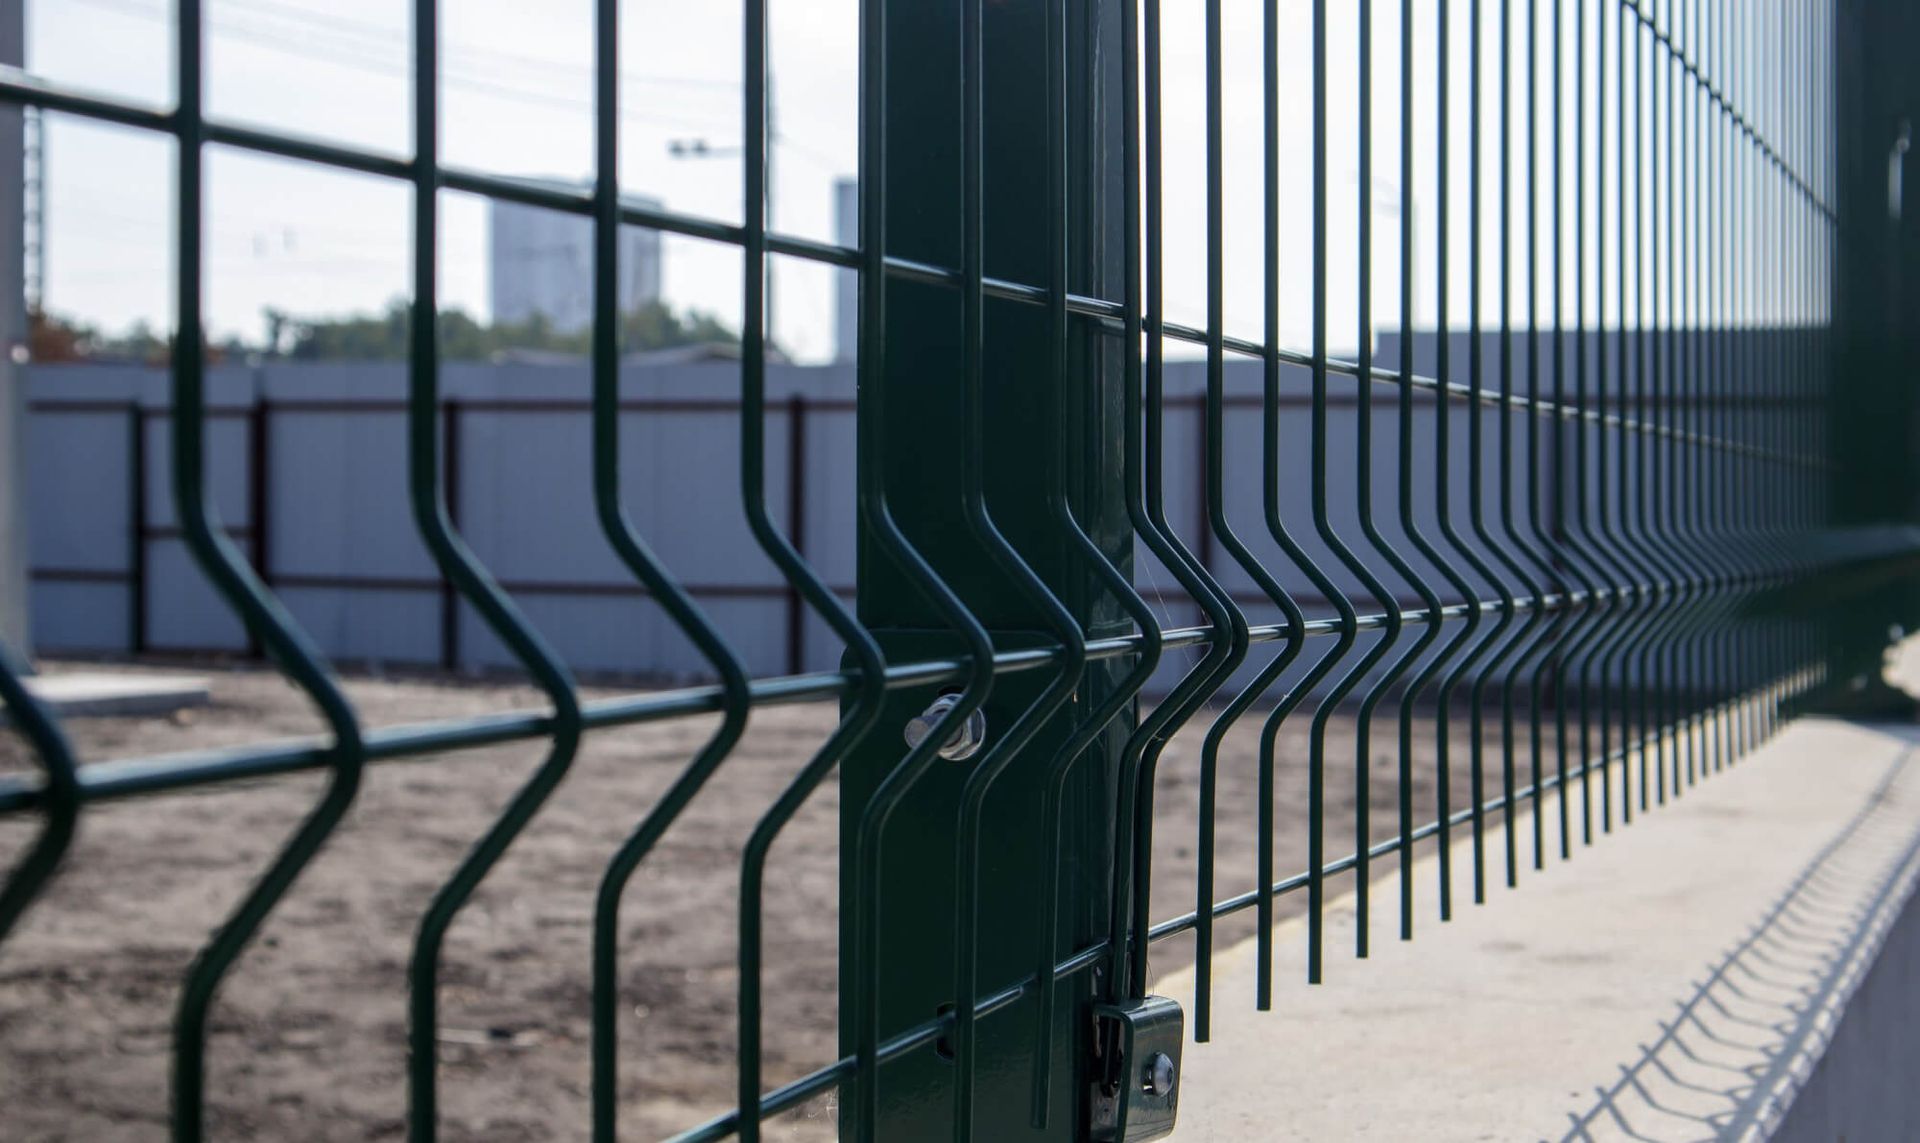
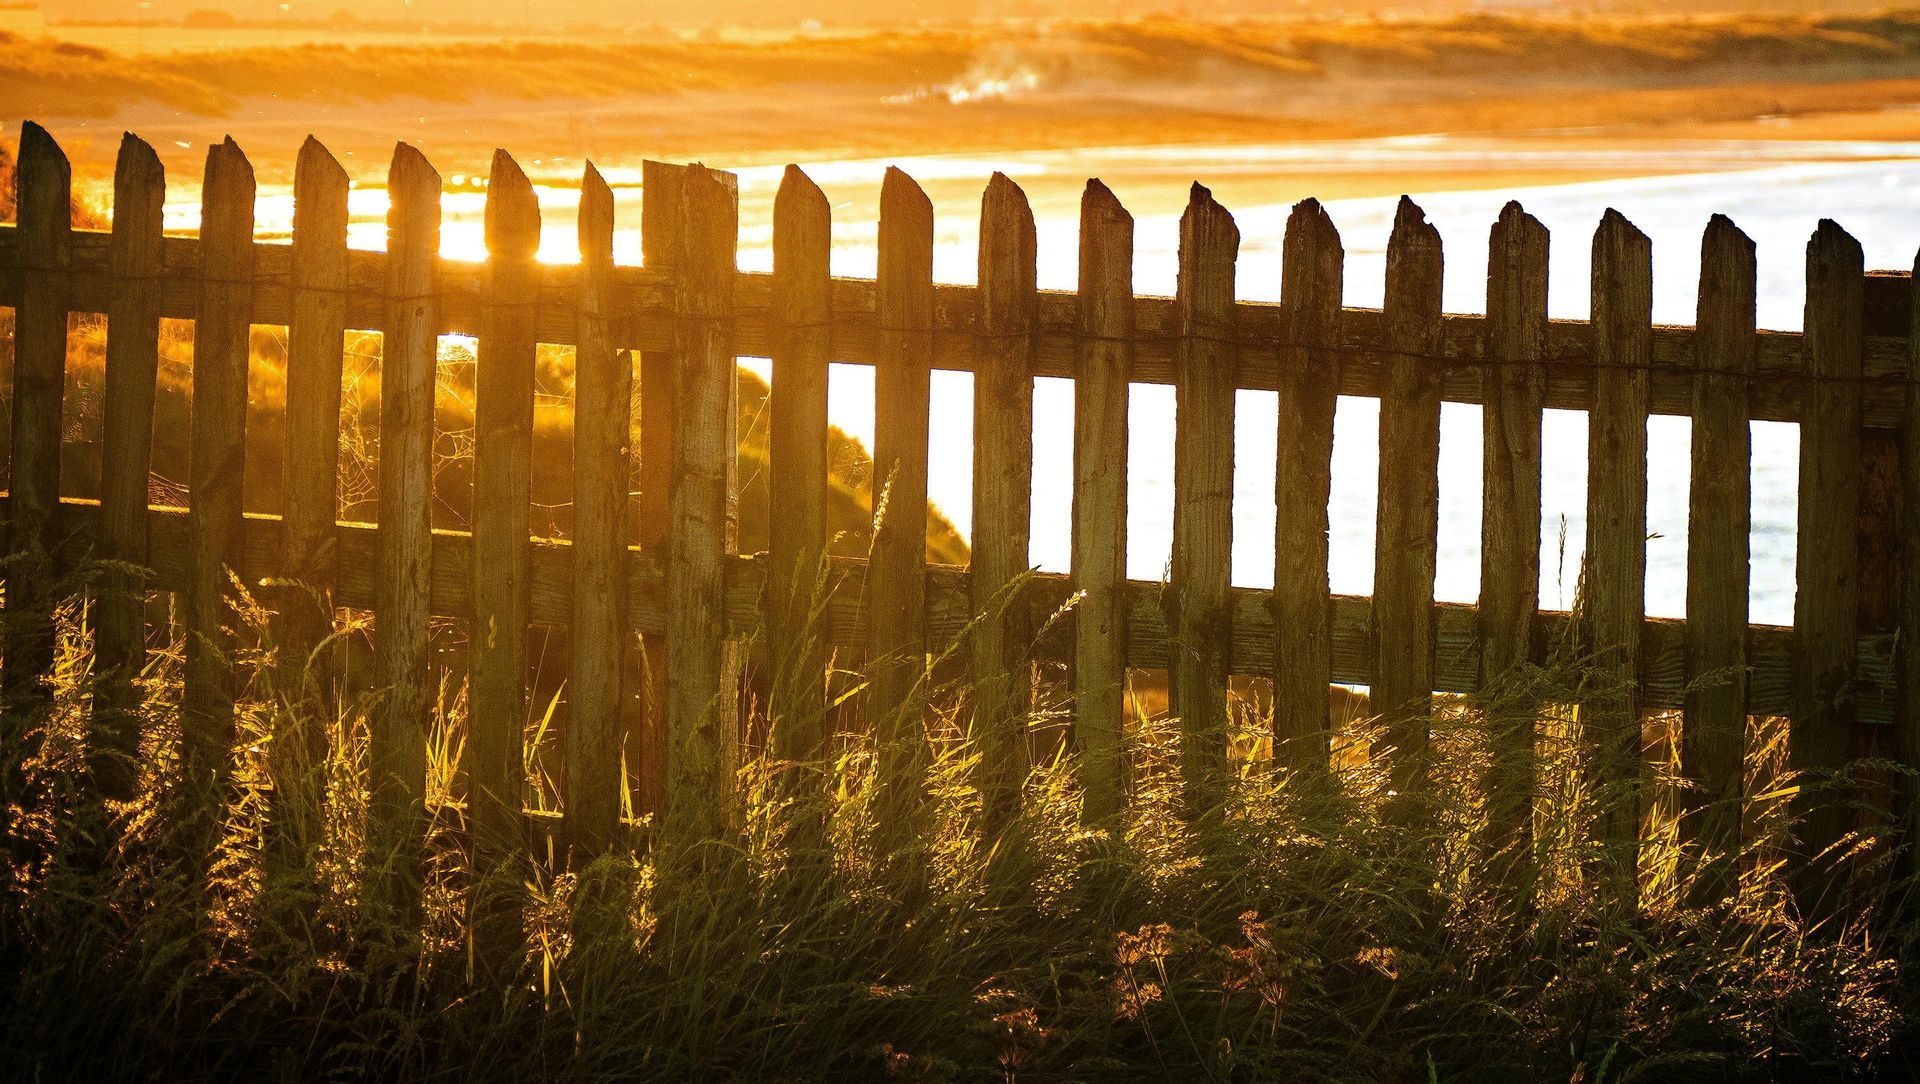
- Choose your materials: The materials you choose (wood, vinyl, chain-link, etc.) will depend on your aesthetic preferences, budget, and maintenance level you’re comfortable with.
- Gather necessary tools: You’ll need a post hole digger, level, tape measure, string line, screws, nails, hammer, saw, and a power drill.
Once you’ve completed these steps, you’re ready to begin your fence installation.
2. Measuring and Marking Your Fence Line
Accurate measurement is key to a successful fence installation. Here’s how to get it right:
- Measure the perimeter: Measure the entire length of the area where the fence will be installed. Use stakes or flags to mark the corners and end posts.
- Mark your post spacing: Depending on the material of your fence, posts should be spaced about 6-8 feet apart. Stretch a string line between corner stakes to ensure your posts will be aligned.
- Account for gates: If you’re installing a gate, measure and mark where it will go. Ensure your gate is wide enough for any equipment or vehicles you might need to pass through.
Now that your measurements are clear, it's time to start digging.
3. Digging Post Holes and Installing Posts
Your fence will only be as strong as its posts. Proper installation is crucial to ensuring your fence stands firm for years.
- Dig post holes: Using a post hole digger, dig holes for your fence posts that are about one-third the height of the fence. The typical depth for most fences is around 2-3 feet. Make sure the diameter of the holes is at least three times the width of the post.
- Add gravel: Pour about 6 inches of gravel into each hole to improve drainage and prevent your posts from rotting.
- Set posts in concrete: Place the post in the center of the hole and pour in concrete. Make sure the post is level, then allow the concrete to set for at least 24 hours.
- Align posts: As you set each post, make sure it aligns with your string line to keep the fence straight.
With your posts firmly in place, you're ready to move on to attaching your fence panels or rails.
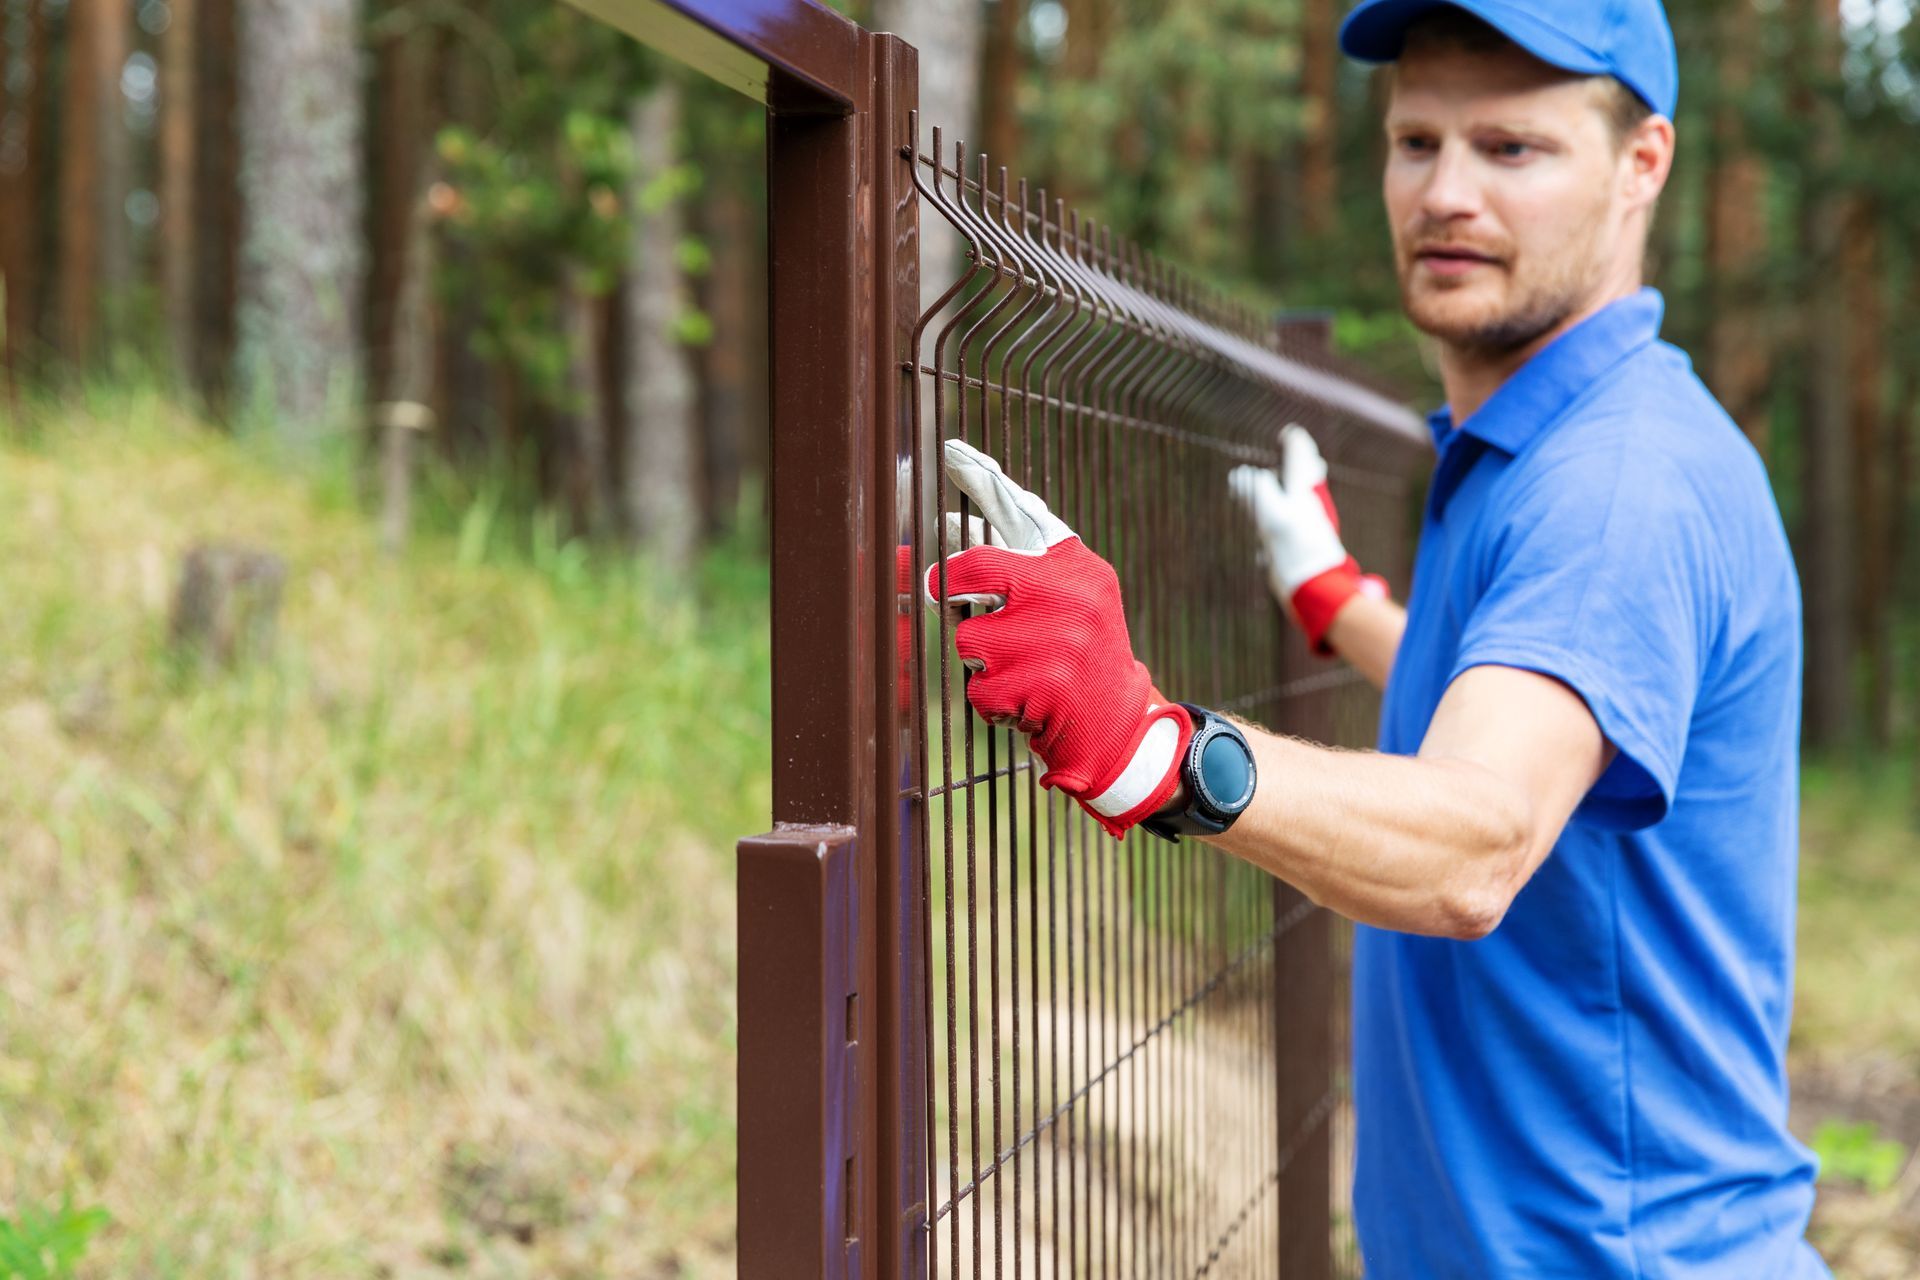
4. Attaching Fence Panels or Rails
After your posts have set, the next step is attaching the fence panels or rails, depending on the type of fence you’re building.
- Install rails: If you’re building a traditional wooden fence, you’ll need to attach horizontal rails between your posts. Most fences will have a top rail and a bottom rail, with some having a middle rail for extra support. Secure these rails with screws or nails.
- Attach panels or boards: For a picket or privacy fence, attach the individual fence boards to the rails. For vinyl or pre-fabricated fences, attach entire panels to the posts. Use a level to ensure each section is straight.
- Cut excess height: If needed, cut the tops of your fence posts to match the height of your fence. You can also install post caps to protect the wood from weather damage.
By this point, your fence will be taking shape. Now, let’s finish off with the final touches.
5. Finishing Touches and Maintenance
The final steps will ensure your fence looks great and stays strong over time.
- Secure the gate: If you’re installing a gate, ensure it’s level and swings freely. Install hinges and a latch to keep the gate secure.
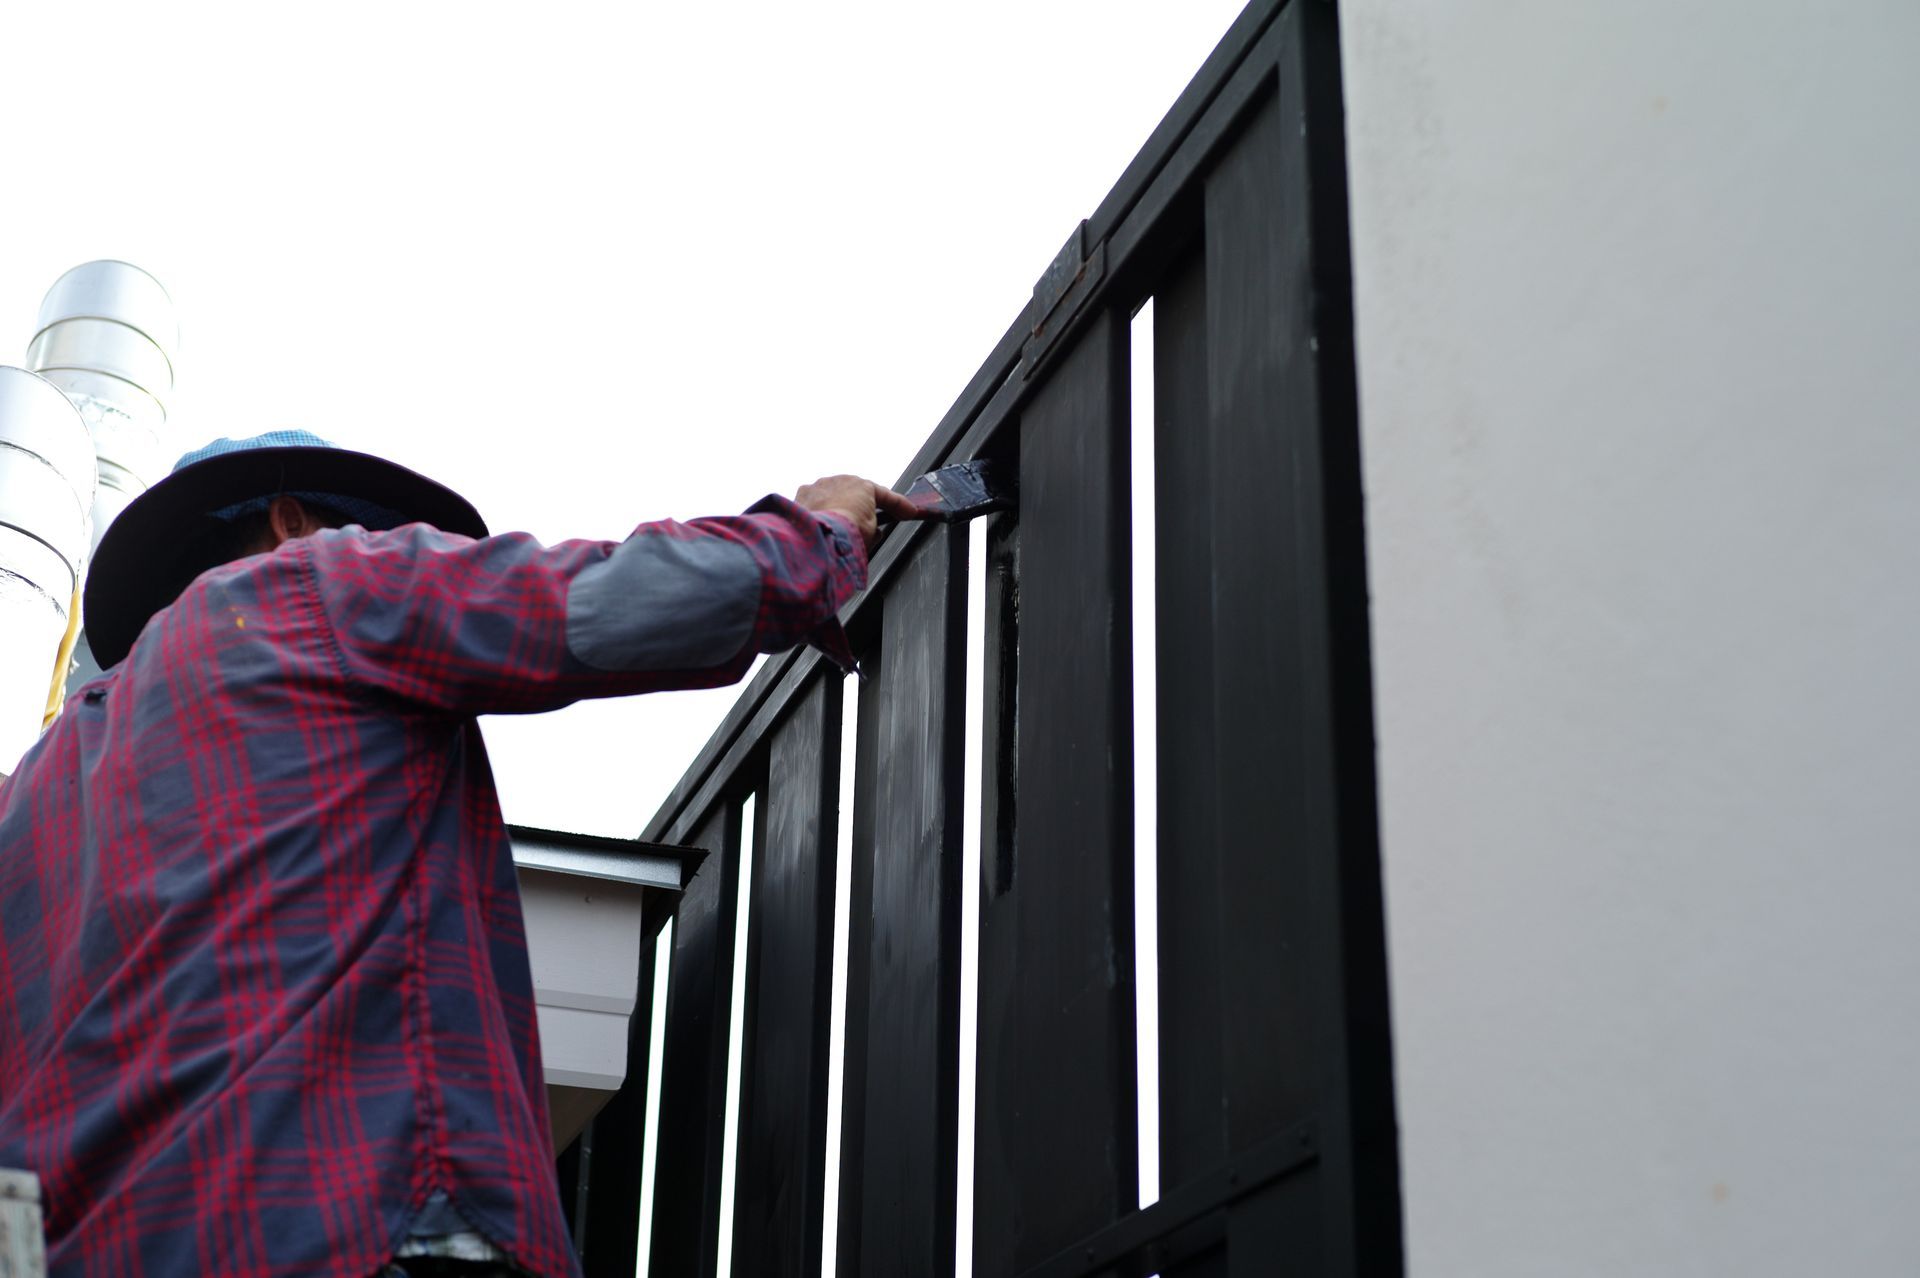
- Paint or stain the fence: If you’re using wood, protect it from the elements by applying a weather-resistant sealant, paint, or stain. This will increase the longevity of your fence and maintain its fresh appearance.
- Check for stability: Walk along your fence line and give the fence a shake. If you notice any wobbly sections, reinforce them with extra screws or nails.
- Regular maintenance: Check your fence periodically for signs of wear. Tighten any loose screws, replace broken boards, and reapply paint or stain as needed.
Contact Construction Fence LLC in Belleville, MI
If at any point during your DIY fence installation you feel overwhelmed or unsure, don’t hesitate to contact the experts. At Construction Fence LLC, we have the experience and tools to ensure your fence is installed professionally, quickly, and with the highest level of craftsmanship. We specialize in a wide range of fencing materials and styles, and we’ll work with you to create the perfect solution for your property. We offer residential fencing, commercial fencing, vinyl fencing, and privacy fencing.
Call us today at
(734) 752-8622 to schedule a consultation or get a quote for your fencing project. Whether you’re doing it yourself or need a helping hand, we’re here to assist you every step of the way.
FAQs